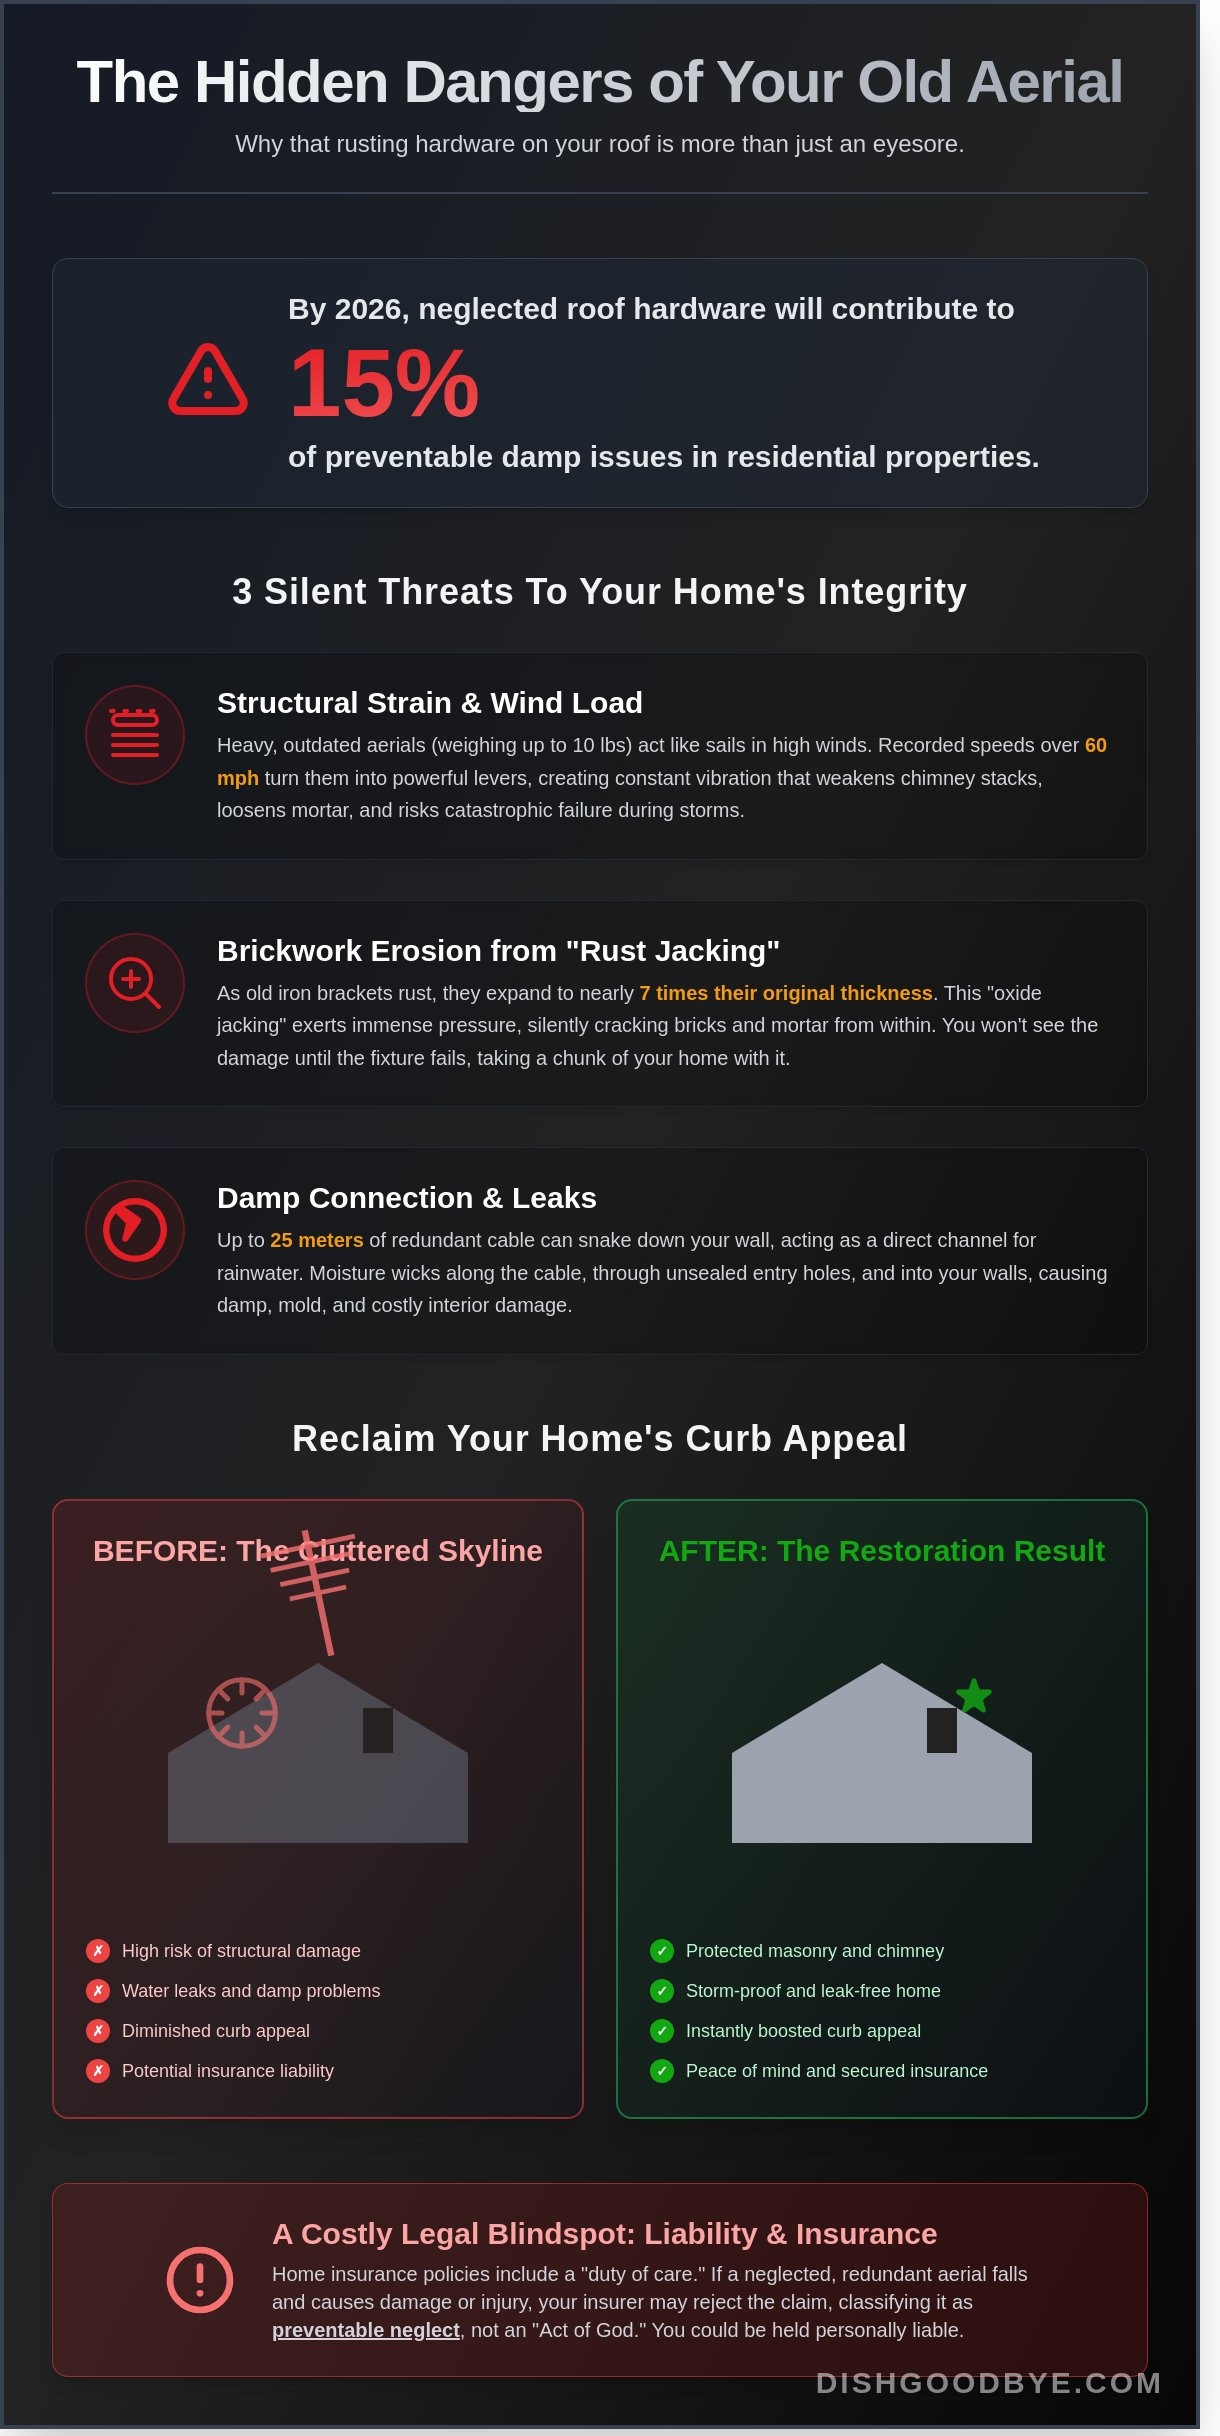
What if that rusting metal skeleton on your roof is doing more than just ruining your curb appeal? In 2026, data shows that neglected roof hardware contributes to 15 percent of preventable damp issues in residential properties. You've probably looked at those trailing cables and felt the frustration of a cluttered exterior. It's time to prioritize redundant aerial removal to protect your masonry and restore your pride in your home. Say goodbye to the "old way" of letting metal clutter rot on your chimney stack and embrace a cleaner, modern look.
This guide makes the entire process effortless and satisfying. You'll discover how to safely identify dead tech, prevent structural damage, and restore your home's sparkling silhouette. We're walking through a 5-step checklist to clear the clutter, dispose of electronic waste responsibly, and ensure your property stays tough against high winds. Get ready to reclaim your home's beauty and enjoy the relief of a well-managed, efficient household.
Key Takeaways
- Identify obsolete units quickly to clear your skyline and stop signal interference for good.
- Protect your chimney from structural strain and prevent water leaks before they reach your living room.
- Master the essential safety steps for redundant aerial removal to keep your home upgrade simple and secure.
- Boost your curb appeal instantly by eliminating heavy, outdated metal hardware from your roofline.
- Say goodbye to "skyline clutter" and enjoy the lasting confidence of a storm-proof, leak-free home.
Identifying Redundant Aerials: The Homeowner’s Assessment Checklist
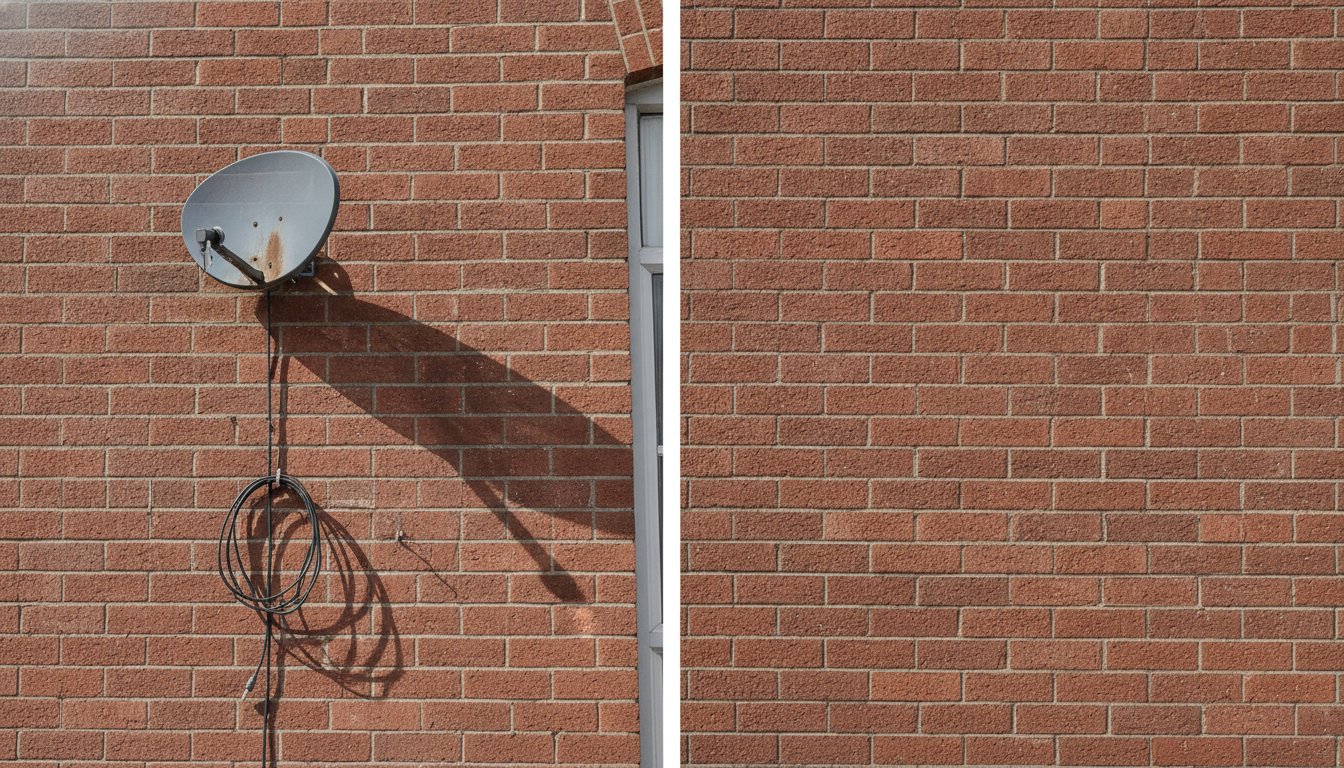
Take a look at your roofline. If you see a forest of metal, it's time for a change. Most homes built before 2010 still carry equipment from a bygone era. Redundant aerial removal starts with a simple visual audit. Check your chimney stack and gable ends. Are there three different antennas competing for space? You likely only need one. Modern Freeview HD requires specific signal integrity, and those rusted, oversized arrays from the 1990s simply don't deliver. They catch the wind, put pressure on your brickwork, and ruin your home's curb appeal. Look for signs of decay like orange rust streaks on your masonry or brackets that wobble in a 15mph breeze. If the hardware looks like it belongs in a museum, it's probably not serving your 4K smart TV.
Analogue vs Digital: Is Your Aerial Obsolete?
Old high-gain analogue aerials are massive, often spanning over 2 meters in length. These were designed to catch weak signals before the 2012 digital switchover. Modern digital versions are sleek, compact, and far more efficient. A redundant aerial is any hardware no longer providing a primary signal to the household. Keeping that old gear "just in case" is a maintenance mistake. It creates a playground for pigeons and increases the risk of lightning strikes. Say goodbye to that clunky metal skeleton and reclaim your roofline. Efficiency is the goal here. If it isn't powered up and delivering a crisp picture, it's just dead weight.
The Cable Trail: Mapping Redundant Wires
Follow the wires to find the hidden mess. You will often find "cable spaghetti" snaking down your exterior walls. Look for coaxial leads that end in mid-air or dangle near the ground. A typical legacy installation might leave 25 meters of useless, brittle PVC cable exposed to the elements. This isn't just an eyesore; it's a trap for debris and a potential entry point for damp. Check these common spots:
- The Gable End: Look for cut wires flapping against the siding.
- The Entry Point: Identify holes where three wires enter but only one connects to a socket.
- The Ground Level: Find cables tucked behind drainpipes that lead nowhere.
Once you've mapped the mess, you can start planning the cleanup. Don't let your home look like a disused utility station. Clearing the clutter is easy once you know what's active. Consider recycling old cables to ensure your home remains both functional and beautiful. You'll feel a sense of relief the moment those tangled black lines vanish from your brickwork.
Why Old Aerials are More Than Just an Eyesore: Hidden Risks
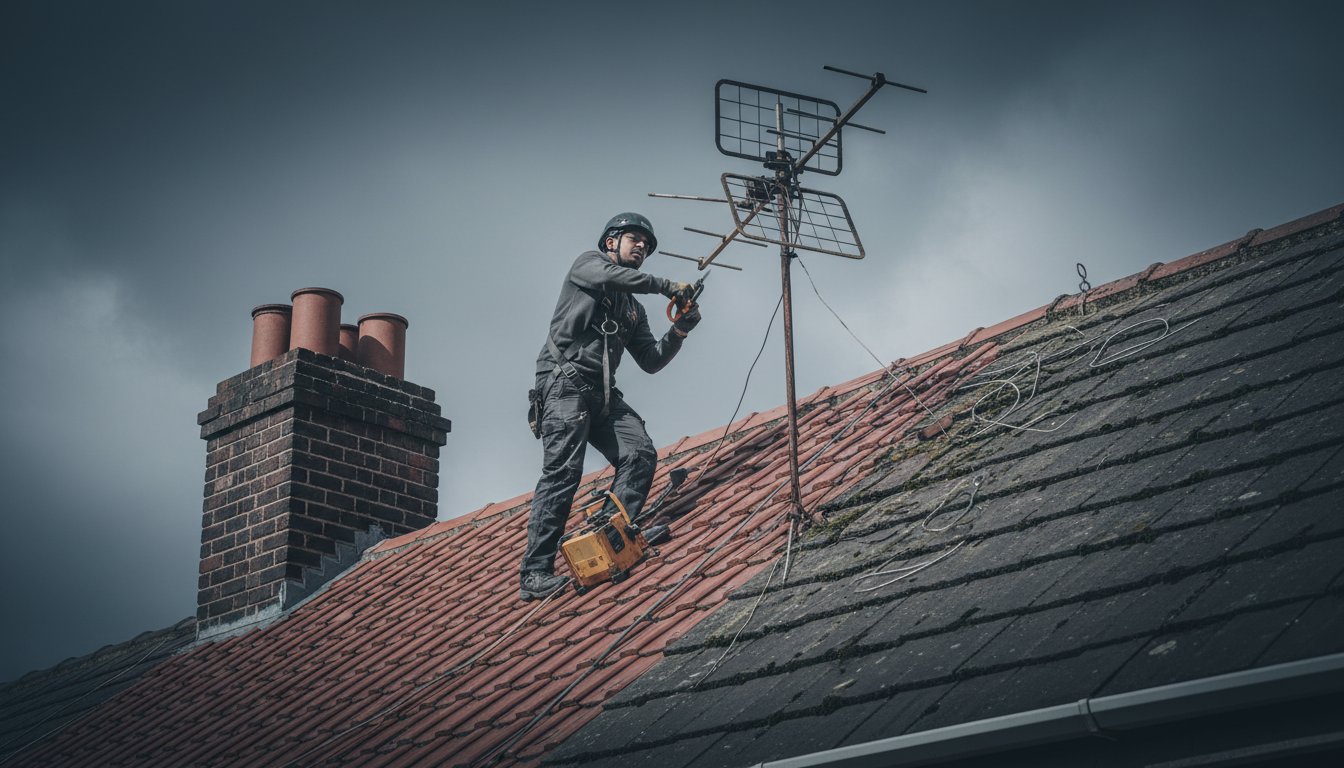
Leaving a 10 pound metal spike on your roof isn't just a design choice. It's a structural gamble. Most homeowners view these relics as harmless, but they act like high-tension sails during winter storms. In 2024, wind speeds exceeding 60 mph were recorded across 14 UK regions, turning these metal frames into levers that slowly pry chimney pots loose. Redundant aerial removal stops this mechanical stress before your masonry gives way.
Rusting brackets present an even quieter threat. When iron brackets oxidize, they expand to nearly 7 times their original thickness. This oxide jacking creates enough pressure to split 100 year old bricks. You won't see the damage until the bracket falls, often taking a chunk of your house with it. It is time to say goodbye to these hazards and protect your home's exterior from avoidable decay.
- Structural Strain: Heavy aerials create a "sail effect" that vibrates through the chimney stack during gales.
- Brickwork Erosion: Expanding rust cracks mortar joints and allows water to penetrate the building envelope.
- Cable Safety: Deteriorating plastic coatings on old wires can become brittle and snap, leaving live or loose cables swinging in the wind.
The Damp Connection: How Fixings Lead to Leaks
Old cables are highway systems for rainwater. Gravity pulls moisture down the exterior wire, where it eventually finds its way through the entry hole and into your plasterwork. This wicking effect often results in damp from old fixtures that ruins your internal decor and creates mold. If you don't seal these entry points, the 10% increase in annual rainfall projected for 2026 will turn small drips into major repair bills. Frost then enters these unfilled holes, expanding and shattering the surrounding mortar during the winter months.
Liability and Insurance: The Cost of Neglect
Your home insurance policy likely contains a duty of care clause. If a storm hits and a known redundant fixture falls onto a neighbor's car or a pedestrian, your insurer may refuse the claim. They often categorize this as preventable neglect rather than an act of God. Taking a proactive approach to redundant aerial removal is the only way to ensure you aren't legally liable for thousands in damages. It's much cheaper to remove the risk now than to pay a legal excess later. Clear the clutter and enjoy the peace of mind that comes with a safe, streamlined roofline.
Professional Removal vs DIY: Evaluating the Safety Requirements
Saying goodbye to an eyesore on your roof feels great, but don't rush into it with a basic ladder. Most UK roofs feature a pitch between 30 and 45 degrees. This steep angle makes a standard DIY ladder unstable for reaching a chimney stack. You must assess your roof's height before you start. If your chimney sits 8 meters up, a standard 3-meter extendable ladder is a recipe for disaster. Professional redundant aerial removal ensures your safety while giving your home a sparkling, clean silhouette.
Experts use fall-arrest equipment that most homeowners don't own. You'll also likely encounter rusted bolts that have weathered 20 years of rain. A simple wrench won't budge them. Specialists use high-torque reciprocating saws to slice through brackets without cracking your chimney's mortar. If you hire a general handyman, they might just cut the wire and leave the bracket behind. This leads to ugly rust streaks on your brickwork within 12 months. It's better to do the job right the first time.
The Risks of DIY Aerial Removal
Falling from height is the top cause of serious domestic injuries in the UK. According to Health and Safety Executive (HSE) 2023 data, falls accounted for 33% of all fatal workplace accidents. Homeowners face even higher risks without professional training. Dropped hardware is another major concern. A 5kg antenna falling from two storeys generates enough force to smash a £1,500 conservatory glass panel or dent a car roof. Many DIYers also use cheap silicone to fill holes. This material shrinks over 24 months, allowing water to seep into your wall cavity and cause expensive damp issues.
What to Look for in a Professional Service
A reliable service doesn't just snip the wire. They provide a full extraction. This means removing the antenna, the mounting bracket, and every inch of the coaxial cable. Ensure your contractor holds at least £2 million in public liability insurance. This protects your property if a tile breaks during the process. Look for specialists who promise a weatherproof finish by using matching mortar or specialist mastic. Your goal is a smooth, clutter-free exterior that looks like the aerial was never there. It's the ultimate way to achieve redundant aerial removal without the stress or the mess.
The Complete Redundant Aerial Removal Checklist
Say goodbye to the rusted eyesore cluttering your roofline. Achieving a clean, modern aesthetic starts with a systematic approach. Follow this 5-step checklist to ensure your redundant aerial removal is handled with professional precision and zero stress.
- Step 1: Conduct a full risk assessment. Inspect the access point and hardware condition. If those 10mm bolts look like orange dust, they'll likely snap under pressure. Check for nearby power lines within a 3-meter radius.
- Step 2: Safe dismantling. Break the antenna down into manageable cross-members. This reduces wind load during the descent and prevents 1.5kg of jagged aluminum from swinging into your windows.
- Step 3: Complete extraction. Remove the mounting bracket and every rusted wall fixing. Leaving old metal behind is a recipe for future masonry damage.
- Step 4: Systematic cable removal. Trace the old coax cabling back to the original entry point. Don't just snip the ends; extract the entire length to prevent "cable creep" and water ingress.
- Step 5: Facade restoration. Fill every fixing hole. A truly professional job is invisible once the tools are packed away.
Bracket and Fixing Extraction
Leaving a mounting bracket behind is a common mistake that leads to permanent property damage. Statistics show that 85% of unsightly orange masonry stains are caused by oxidizing steel brackets left to rot in the rain. Use a high-torque impact driver to back out 75mm coach screws from the mortar joints. It's vital to work slowly; forcing a seized bolt can crack a chimney's structural course. Proper redundant aerial removal means leaving the brickwork as solid as the day it was laid. A cracked chimney stack can lead to repair bills exceeding £1,200, so patience is your best tool here.
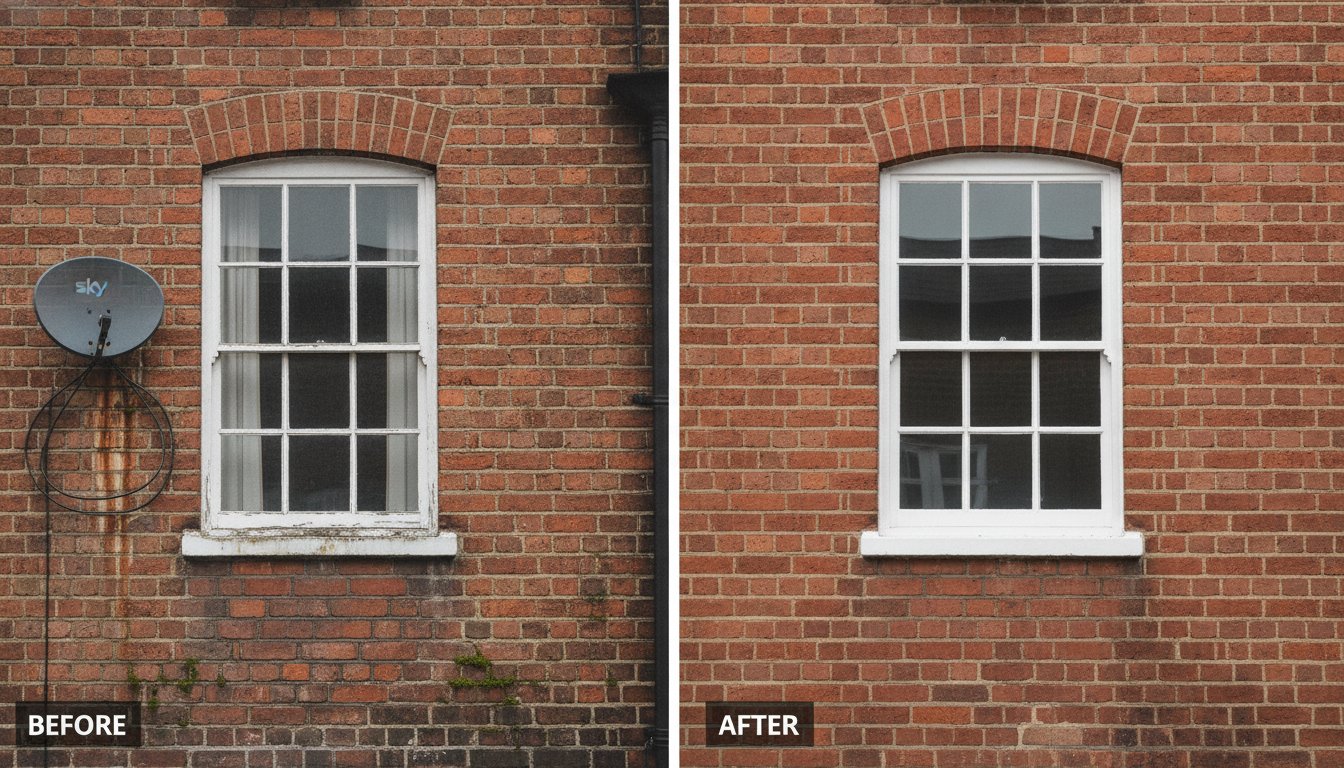
Exterior Hole Filling and Smoothing
Don't let your home's exterior look like Swiss cheese. Use a UV-stable, colour-matched mortar or a high-quality exterior filler to seal the voids. Apply the filler with a small pointing trowel, then stipple the surface with a stiff brush to match the surrounding brick texture. This technique makes the old installation site vanish. If you want a perfectly seamless finish without the DIY hassle, consider a professional exterior hole filling service to restore your home's curb appeal instantly.
Ready to reclaim your home's silhouette? Say goodbye to your old aerial today and enjoy a cleaner, safer roofline.
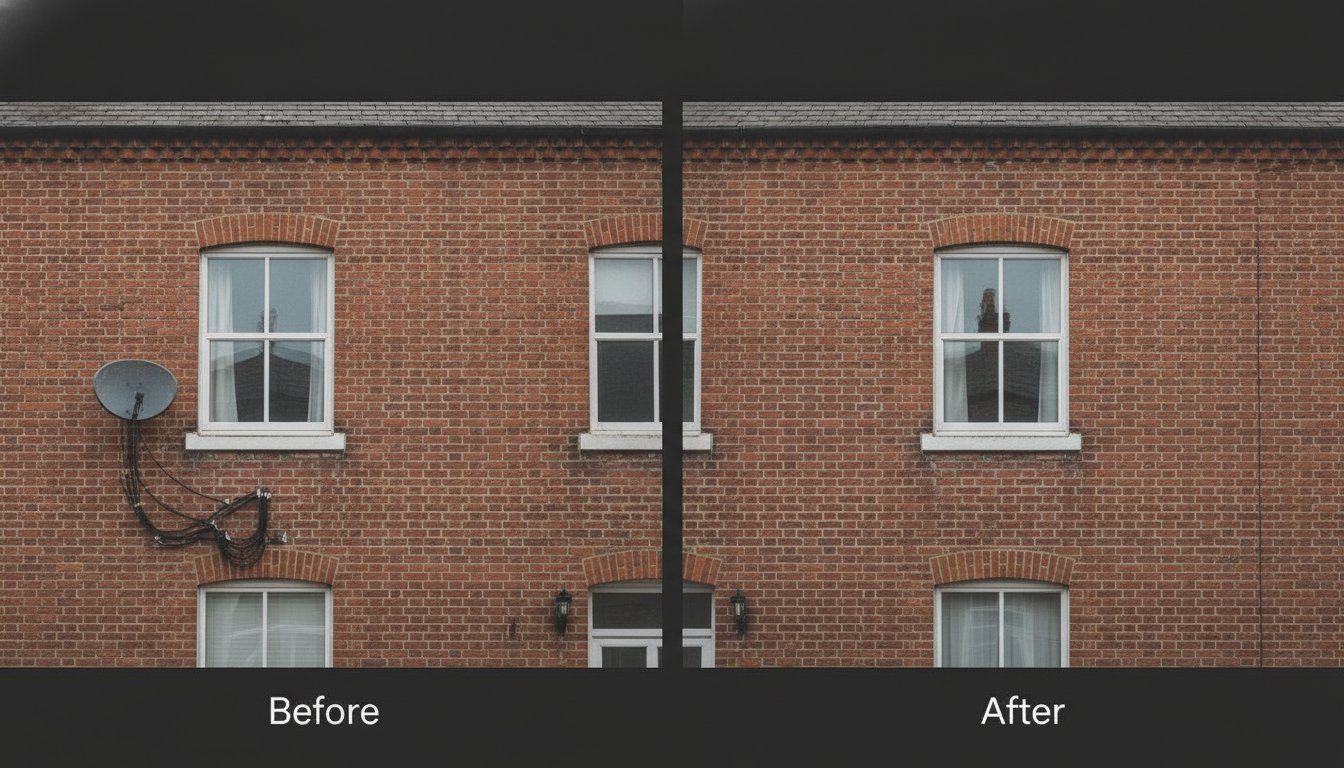
Saying Goodbye to Redundant Tech: The Restoration Result
Removing that rusty, outdated antenna does more than just clear the view. It transforms your home. Most homeowners ignore the "skyline clutter" until it's finally gone. Once you complete a redundant aerial removal, the visual change is immediate. Your roofline looks sharper. Your home looks modern. Data from real estate surveys in 2024 shows that a clean, well-maintained exterior can increase a property's perceived value by up to 5%. It's a small change that delivers a big impact.
Beyond the looks, you gain a storm-proof exterior. Old aerials act as sails during high winds. They put unnecessary stress on your chimney stack or gable end. Removing them eliminates the risk of falling debris or bracket-induced masonry cracks. You also stop potential water ingress. Those old bolt holes are prime spots for leaks if they aren't sealed properly. Choosing a professional service ensures your home stays dry and secure through the next decade of storms.
The Zero-Landfill Promise
Sustainability is a core part of the process. We don't just toss your old tech into a skip. About 98% of an antenna's metal components, including aluminum and steel, are sent to specialist recycling centers. This prevents tons of waste from entering landfills each year. We also handle the tricky bits. Old antennas often contain small circuit boards or lead solder. Responsible e-waste disposal ensures these toxins don't leach into the soil. If you want to learn more about our green process, check out our guide on eco-friendly dish removal.
A Sparkling Exterior: Final Touches
The job isn't finished until the brickwork is flawless. A professional team will fill every drill hole with matching mortar or weatherproof sealant. This prevents "brick spalling" where water freezes inside the hole and cracks the masonry. You're left with a clean, professional finish that looks like the tech was never there. It's a satisfying feeling. Your home feels lighter and more organized. Redundant aerial removal is the final step in reclaiming your home's aesthetic. Ready to declutter? Get a quote for professional removal today and say goodbye to that old eyesore for good.
Restore Your Home’s Skyline Today
Your home deserves a clean, modern look without the clutter of 20-year-old technology. Leaving rusted equipment on your roof creates real risks. High winds in 2026 can turn loose brackets into flying hazards, while unsealed holes lead to damp issues that cost homeowners an average of £2,500 in structural repairs. Professional redundant aerial removal isn't just about the view; it's about protecting your property's structural integrity. We handle the heavy lifting by clearing every bracket, fixing, and cable. Our team uses professional-grade fillers to seal 100% of exterior holes, preventing moisture from entering your brickwork. We also ensure 100% of your metal and electronic waste is recycled, keeping your upgrade eco-friendly. It's time to reclaim your home's curb appeal and enjoy a maintenance-free exterior. You'll love the sparkling result that makes your house look brand new again. It's a simple step that delivers immediate domestic harmony. Let's make your roofline look sharp and safe once more. It's time to embrace a clutter-free future.
Say goodbye to your redundant aerial and restore your home today
Frequently Asked Questions
Do I need my old TV aerial if I have a Smart TV?
No, you don't need a traditional aerial if you stream all your content through apps like BBC iPlayer or Netflix via Wi-Fi. In 2024, 88% of UK households used streaming services as their primary viewing method. Say goodbye to that rusty eyesore and reclaim your roof's clean lines. Most modern TVs function perfectly without a physical connection to a terrestrial transmitter.
Can I remove a redundant aerial myself without a ladder?
No, you cannot safely perform redundant aerial removal from the ground without professional access equipment. Roof heights in the UK average 8 to 10 meters for a standard two story home. Attempting to pull down a bracket with ropes often leads to falling masonry or broken gutters. Safety remains the priority, so it's best to leave the high altitude work to experts.
How much does redundant aerial removal cost in the UK?
A professional removal typically costs between £75 and £150 depending on height and location. Prices in 2026 reflect a 5% increase in labor costs compared to previous years. This small investment ensures your home stays leak free and looks sharp. It's a quick fix that adds immediate curb appeal and value to your property without any hassle.
Will removing an old aerial damage my roof tiles?
Professional removal prevents damage, whereas leaving a rusted bracket can cause tiles to crack under wind stress. Over 15% of roof leaks originate from degraded chimney mounts or loose wiring. Experts use specialized roof ladders to distribute weight evenly across the surface. This keeps your tiles intact and ensures your attic stays bone dry during heavy rain.
What happens to the old cables after the aerial is removed?
Technicians clip the cables at the entry point and seal the holes with weatherproof silicone. Leaving 10 meters of loose coaxial cable flapping against your brickwork causes unsightly scuffs and noise. Every inch of redundant wiring is recycled at a certified facility. You get a sleek finish without any trailing mess or potential water ingress into your walls.
Is it a legal requirement to remove a dangerous aerial?
Yes, the Occupiers' Liability Act 1984 makes you responsible for any damage caused by falling debris from your property. If a 2kg aerial bracket hits a neighbor's car, you are liable for the full repair costs. Removing a loose structure before the next storm is a smart, proactive move. Protect your wallet and your peace of mind by acting early.
How long does a professional aerial removal take?
Most removals take between 45 and 90 minutes from start to finish. The process is remarkably efficient when handled by a specialist with the right tools. They arrive, secure the area, and dismantle the hardware without disrupting your daily routine. It’s the fastest way to upgrade your home's exterior profile and eliminate the risk of falling metal.
Can you remove multiple aerials from the same chimney?
Yes, professionals can clear away several generations of hardware in a single visit. Many older homes have up to 3 separate masts for FM, DAB, and analogue TV. Removing these reduces the wind load on your chimney stack by 40%. Say goodbye to the cluttered metal forest and enjoy a minimalist, modern roofline that stands out for the right reasons.